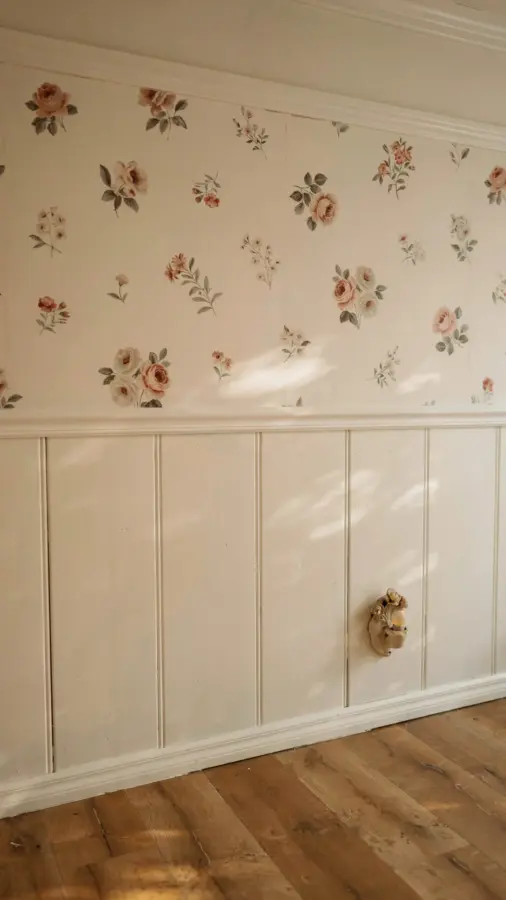
If you have ever scrolled through Pinterest dreaming of that perfect board and batten accent wall, you already know how much texture and charm it adds to a room. I have built three of these walls myself, and I made almost every mistake you can imagine. From wobbly battens to paint bleeding everywhere, I learned the hard way. This guide walks you through the most common screw-ups so you can skip the frustration and end up with a wall that looks like a professional did it. Best part? You can finish this project in one weekend, even if you are a total beginner. Let me save you the headache.
Mistake 1: Skipping the Wall Prep
I get it, you want to jump straight into cutting wood. But trust me, skipping prep is the number one reason board and batten walls look crooked or show gaps later. Before you touch a single board, clean the wall and fill any holes or dents with spackle. Sand those patches smooth.
Also check if your wall has an uneven surface. Old plaster or textured walls need a little love. Use a long level to find high and low spots. If you ignore this, your vertical battens will rock back and forth instead of sitting flat. That means gaps and wobbly nails. A quick skim coat of joint compound on rough patches makes a huge difference.
One more prep step that people forget: find the studs. Use a stud finder and mark them lightly with a pencil. You will thank yourself later when you nail into solid wood instead of drywall anchors.
Mistake 2: Not Planning the Layout on Paper First
I have seen people measure once, cut twice, and then realize their spacing is totally off. Do not do that. Take a piece of paper and draw your wall to scale. Mark where windows, doors, outlets and light switches are. This helps you decide how many vertical battens you need and where they should go.
Standard spacing is usually 12 to 16 inches on center, but every wall is different. You might want a wider gap in a large living room or a tighter look in a small bedroom. The most common blunder is ending up with a skinny sliver of space at the end of the wall. Adjust your spacing slightly so the last batten lands neatly at a corner or edge. A layout drawing takes ten minutes and saves you one trip to the lumber store for extra wood.
Mistake 3: Ignoring Stud Placement When Nailing
This mistake is so easy to make. You get excited, nail your first batten, and it pulls loose because you hit only drywall. Yes, you can use adhesive, but construction glue alone is not enough for boards that get bumped or leaned on. You need nails or screws into studs.
When you plan your layout, try to align your battens so they hit at least one stud. If a batten falls between two studs, use a heavy-duty wall anchor or screw those boards into blocking you add behind the drywall. For a beginner, the easiest fix is to mark your studs clearly on the wall and adjust your batten spacing by an inch or two to land on a stud. It won’t ruin the look, I promise.
- Pro tip: Use a nail gun with 2-inch finishing nails for speed, but hand-nail with a hammer if that is all you have. Just pre-drill to avoid splitting the wood.
- Double check: Tap the wall with your knuckle after nailing. If it sounds hollow, your nail likely missed the stud.
Mistake 4: Choosing the Wrong Spacing or Batten Width
Board and batten looks modern farmhouse when the proportions feel balanced. A common mistake is making the vertical battens too skinny or too fat for the wall size. For an 8-foot wall, 2.5 to 3.5 inch wide battens usually look right. For higher ceilings, go wider, up to 4 or 5 inches.
Spacing matters just as much. If you put battens every 8 inches, the wall looks busy and cluttered. If you space them 24 inches apart, the gaps feel huge and the wall loses that cozy texture. Stick between 12 and 18 inches. I like 16 inches because it matches typical stud spacing, so you hit a stud every other batten.
One more thing: if your wall has an outlet right where a batten should go, do not panic. You can either shift the batten a few inches or notch the back of the board to fit around the outlet box. Notching is easy with a jigsaw and looks clean.
Mistake 5: Forgetting to Caulk and Fill the Gaps
This is the step that separates an amateur job from a professional finish. Even if your cuts are perfect, there will be tiny gaps between the wall and the boards. Paint will find those gaps and create ugly dark lines. Use a paintable latex caulk to fill every seam where the batten meets the wall, and also at the top and bottom edges.
Smooth the caulk with a damp finger or a small caulk tool. Then let it dry. Same goes for nail holes: fill them with wood filler, sand lightly when dry. I learned this the hard way on my first accent wall.
#boardandbatten #accentwalldiy #diywalldecor #modernfarmhouse #walltrim
Leave a Comment