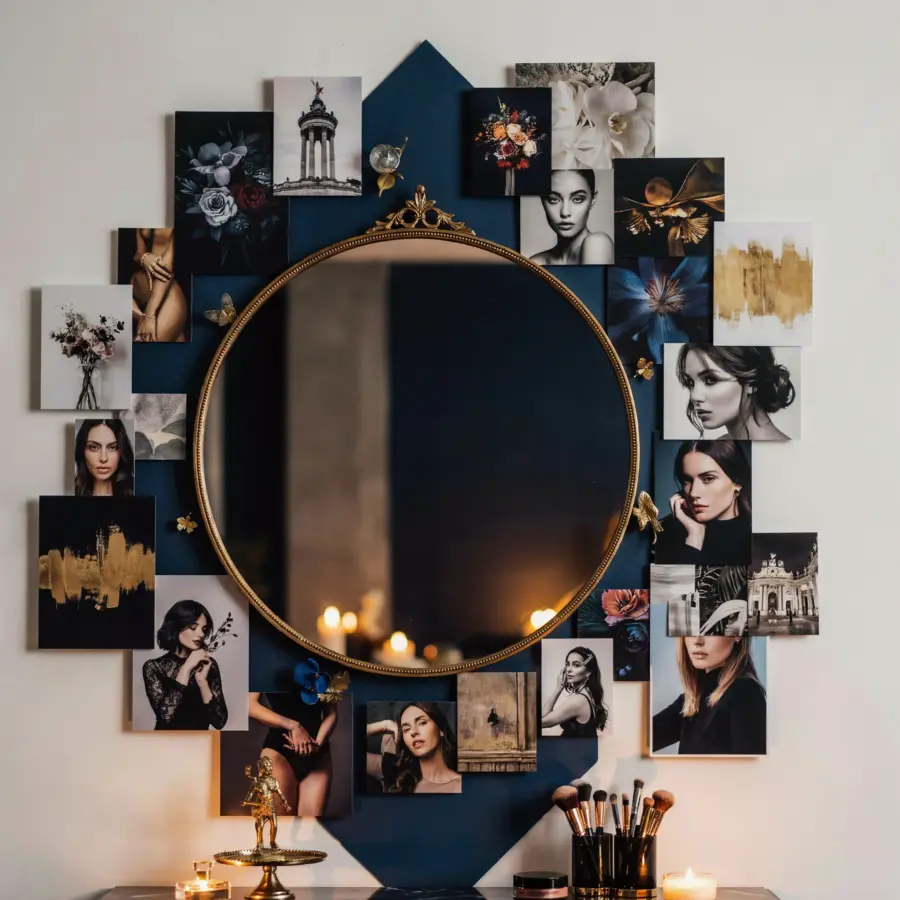
Start with a Gallery Wall Layout That Feels Intentional
You do not need a degree in design to arrange photos on a wall. The trick is to plan before you hammer any nails. Lay your frames on the floor and move them around until the spacing looks balanced. For a walldecorwithphotos project, a grid layout works well if you use identical frames. If your frames are all different sizes, try a salon style where you keep the outer edges neat and let the middle fill in naturally.
Use paper templates cut to the size of each frame and tape them to the wall. This way you can step back and see how everything will look before you commit to holes. Move the templates a few inches up or down until the arrangement feels right. A little patience now saves you from patching extra holes later.
Mix Black and White Prints with Colorful Snapshots for Balance
A common worry is that a photo wall will look chaotic. The fix is simple. Use a mix of black and white prints and a few color photos. The monochrome images create a visual anchor, while the colorful ones bring energy and personality. Aim for about two thirds black and white and one third color. This ratio keeps the display cohesive without being boring.
Another tip is to edit your photos with the same filter or exposure adjustment. Even if the subjects are different, similar lighting makes them feel like they belong together. For example, convert most of your travel shots to black and white, then leave one bright landscape in color as the focal point.
Use Matching Frames for a Clean and Coordinated Look
If you prefer order over eclectic, matching frames are your best friend. Choose one color (black, white, or natural wood) and stick with it for every photo. This styling trick works especially well in hallways or above a sofa where you want the content of the photos to stand out, not the hardware.
You do not have to buy new frames for this. Thrift stores often have identical frames in the same size. A quick coat of spray paint in a single color makes a mismatched set look custom. Uniform frames also make it easier to swap photos later because the size and orientation stay the same.
Try Clipboards or Washi Tape for a No-Fuss Display
For renters or anyone who wants to change their photos often, consider a display that does not involve hammering. Clipboards come in small and large sizes and can be arranged on a wall with just a single nail each. Clip a photo onto the board and you are done. You can swap the image in seconds when you want a fresh look.
- Mini clothespins and string – Run a piece of twine across a wall and clip photos along it. This works in a dorm room or a kids’ hallway.
- Washi tape – Use decorative tape to stick photos directly to the wall. The tape peels off easily and does not damage paint.
- Magnetic photo rails – A slim metal bar holds photos with magnets. No frames needed, and you can rearrange in seconds.
Add Small Shelves to Layer Photos with Other Decor
A photo wall does not have to be only frames. Floating shelves let you combine photos with small objects like a plant, a candle, or a stack of books. This adds depth and makes the display feel like a curated vignette rather than just a row of pictures.
Place a few framed photos on the shelf and lean them against the wall. Then set a small vase or a ceramic figure next to them. The mix of flat and three dimensional items catches the eye. Keep the shelves narrow (around 4 to 6 inches deep) so they do not stick out too far in a hallway or narrow room.
Lean Frames on a Shelf for an Easy Swap
If you already have a shelf or a console table, use it as a photo display. Lean frames of different sizes against the wall instead of hanging them. You can change out photos whenever you want without dealing with hooks or wires. This approach works perfectly on a mantel, a bookshelf, or behind a couch.
Try leaning a large frame in the center and two smaller frames on each side. Overlap the edges slightly for a casual look. Because the frames are not fixed, you can rotate seasonal photos or swap in a new print from your latest vacation in under two minutes.
Keep It Budget Friendly with DIY Frames or Thrift Finds
An accent wall with photos does not require expensive frames. Thrift stores always have a bin of frames for a dollar or two. Look for solid wood or metal frames that you can paint or leave as is. If the mat is stained, cut a new one from a piece of poster board.
You can also make your own frames from simple wood strips. Buy a cheap piece of molding from a hardware store, cut it to size with a hand saw, glue the corners together, and spray paint. Each frame costs less than three dollars. For the photos themselves, print at a local drugstore or use an online service with ongoing coupons. Skip the canvas prints and stick with standard paper prints in sizes 4×6, 5×7, and 8×10. They look
#walldecorwithphotos #photowalldisplay #accentwallideas #budgetwalldecor #framingideas
Leave a Comment