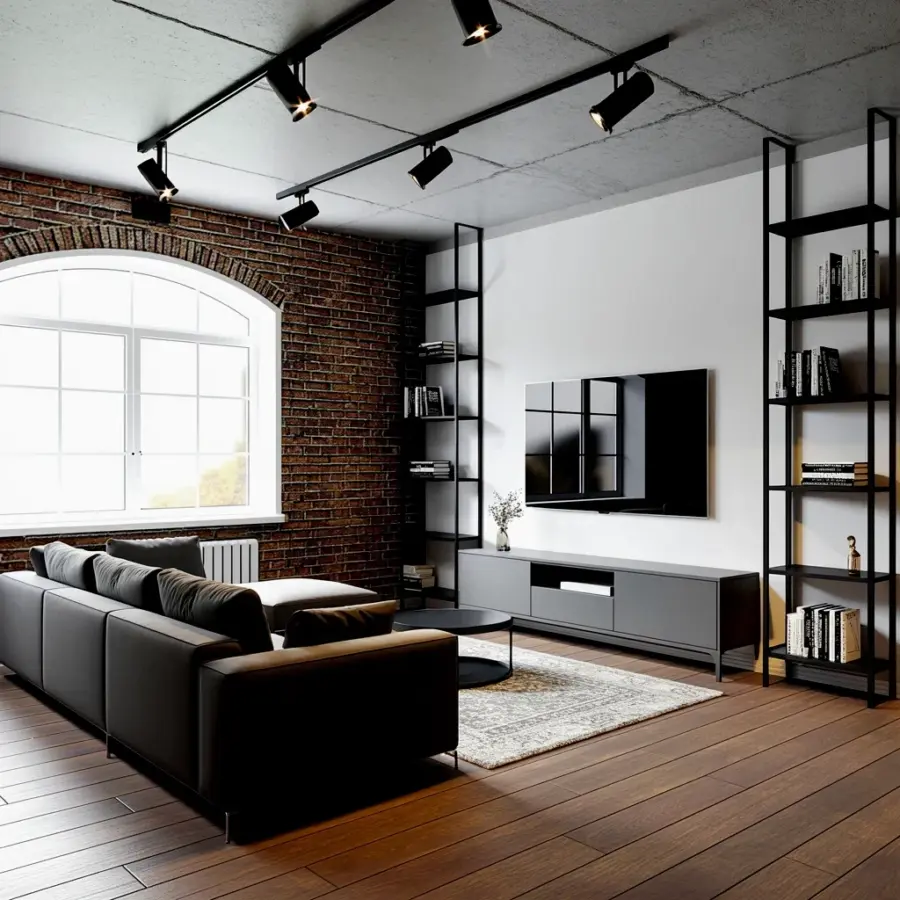
We took the plunge on a modern TV wall design with LED lighting last October, and honestly, the change still surprises me every time I walk into our living room. That old black entertainment unit had turned the whole space into a cave, but now the wall itself feels like the centerpiece without screaming for attention. For anyone stuck with a boring flat wall and a TV that just hangs there, this before and after might give you a few concrete ideas.
## Picking the Right Wood Panel Style for Your TV Wall
The vertical wood panels are what make this design work, not the television itself. We went with a warm oak slat system that has a 15 millimeter gap between each piece, which lets the LED light bleed through from behind. That gap is the secret, actually. If the panels sit flush against each other, you lose the shadow play and the whole thing looks flat.
You have two basic options here: real wooden slats or MDF with a wood veneer. Real wood is beautiful but it moves with humidity, and if you’re placing it near a heater or a window, it can warp over time. We chose veneered MDF for stability, and after six months, not a single panel has shifted. The color matters more than the material though. A grey oak or a smoked walnut reads way more modern than a honey pine, which can tip straight into rustic cabin territory.
## Mapping Out the LED TV Backlight Placement
Here’s the thing about LED backlighting: it’s not just sticking a strip behind the TV and calling it done. The placement of the strip determines whether you get a soft ambient halo or a harsh neon rectangle. We used a 4 meter bias lighting kit that wraps around the entire back edge of the TV, but we positioned it so the light bounces off the wall instead of shining straight out. That diffused glow is what creates the depth in the after photos.
– Put the strip at least 3 inches from the edge of the TV for a wider spread
– Use an adhesive strip rated for continuous heat, not the cheap stuff
– If your wall has texture, add a small aluminum channel to keep the strip straight
Also, consider the color temperature. A white LED with a 2700K rating gives that warm candlelight feel, while 6000K looks clinical and cold. We originally bought a strip with both color options, and the blue and purple modes felt like a gaming setup, not a living room. Stick to warm white or dimmable amber tones, especially if you want that calm evening atmosphere.
## The Floating Console and Cable Management
The floating console was a later addition to the design, but it ended up being the anchor. We built it from a simple oak slab with a hidden steel bracket, and it hangs about 12 inches off the floor. That empty gap below makes the room feel bigger, and it gives the robot vacuum a clear path, which is a practical win nobody talks about.
Cable management is where most TV walls fall apart. In our before photos, you can see a mess of wires dangling behind the TV stand. This time, we ran everything through a 3 inch conduit inside the wall. The power outlet sits behind the TV, but we also installed a low voltage shelf outlet inside the console for the modem and the Apple TV. No visible cords, and honestly, it changed how clean the whole room feels.
## Warm Light for Evening Watching Without Eye Strain
The warm glow behind the TV is not just for looks, it actually helps your eyes adjust during dark movie scenes. When the screen is bright and the wall behind it is pitch black, your pupils work harder and fatigue sets in. That bias lighting reduces the contrast ratio, so watching a film at 10 PM feels way more comfortable.
We linked the LED strip to a smart plug that turns on with a voice command, but you can also use one of those cheap remote dimmers. One tip: set the brightness to around 30 percent for normal viewing and lower it further when you’re just listening to music. Too much glow makes the TV look smaller, and the whole purpose of a minimalist wall is to make the screen blend into the architecture.
## What the Before and After Photos Don’t Show You
Nobody talks about the prep work. The wall in our living room had an old plaster texture that had to be skim coated twice before the wood panels could go up. That took three days and created a massive dust cloud that settled on every single bookshelf. The actual installation of the panels was quick, maybe four hours, but the surface prep took longer than the whole rest of the project.
Another hidden detail is the sound. The wood slats actually absorb a bit of high frequency echo, so the room sounds less tinny when you’re watching dialogue heavy shows. That’s a side effect we didn’t expect, but it makes the TV wall feel more integrated. If you’re adding this to a room with hardwood floors, the acoustic change is subtle but real.
## Seasonal Adjustments for Your TV Glow
Because this project happened in October, we’ve now lived through winter, spring, and part of summer with the LED system. The glow needs to change with the seasons, not just your mood. In winter, a higher brightness around 40 percent feels cozy and compensates for the short days. In summer, we drop it to 20 percent because the natural evening light still lingers and any extra glow feels like too much.
You can also swap the color temperature seasonally if your strip allows it. We run a slightly amber tone in December for that fireplace vibe, then switch to a neutral white in March when the sun starts coming back. It’s a tiny adjustment, but it keeps the room from feeling stale. Honestly, I never thought I would be the person tweaking LED colors based on the month, but here we are.
## Common Mistakes When Installing This Look
The biggest mistake people make is buying a LED strip that’s too short or too dim. A TV that’s 55 inches needs at least a 6 foot strip to cover the perimeter with an even glow. Also, do not skip the diffuser sheet. Without it, you’ll see every individual LED dot reflected on the wall, and that looks exactly like a cheap dorm room setup.
Another one: mounting the wood panels before you plan the outlet height. We moved our outlet up a few inches last minute, and it saved us from having to cut a hole in a finished wall. Trust me, measure everything twice. And if you’re renting, get a peel and stick version of the wood slats instead of the nailed ones. The adhesive holds fine for a year or two and leaves no trace when you remove it.
Anyway, the whole project cost us around 340 dollars in materials, not counting the tools we already had. The LED strip was the cheapest part at 40 bucks, and the wood slats from a local lumber supplier ran about 180. The console was built from scrap oak, so that was mostly sweat equity. If you hire someone to install everything, expect to double that cost easily.
The original TV wall with its dark cabinet and tangled wires felt like a relic from 2012. Now the room breathes, and the TV actually disappears when it’s off because the wood panels provide all the texture you need. That’s the real magic of this design. You don’t notice the lighting when you first walk in, but you feel it.
If you’re planning a living room refresh and you’re tired of staring at a blank wall with a floating screen, start small. Just add a warm LED strip behind your current TV and see how it changes the mood. Then work up to the panels when you trust the vision. Save the photos somewhere you can find them later, because one day you’ll want to do the full makeover, and you’ll need the reminder of how far a little light can take you.
Leave a Comment