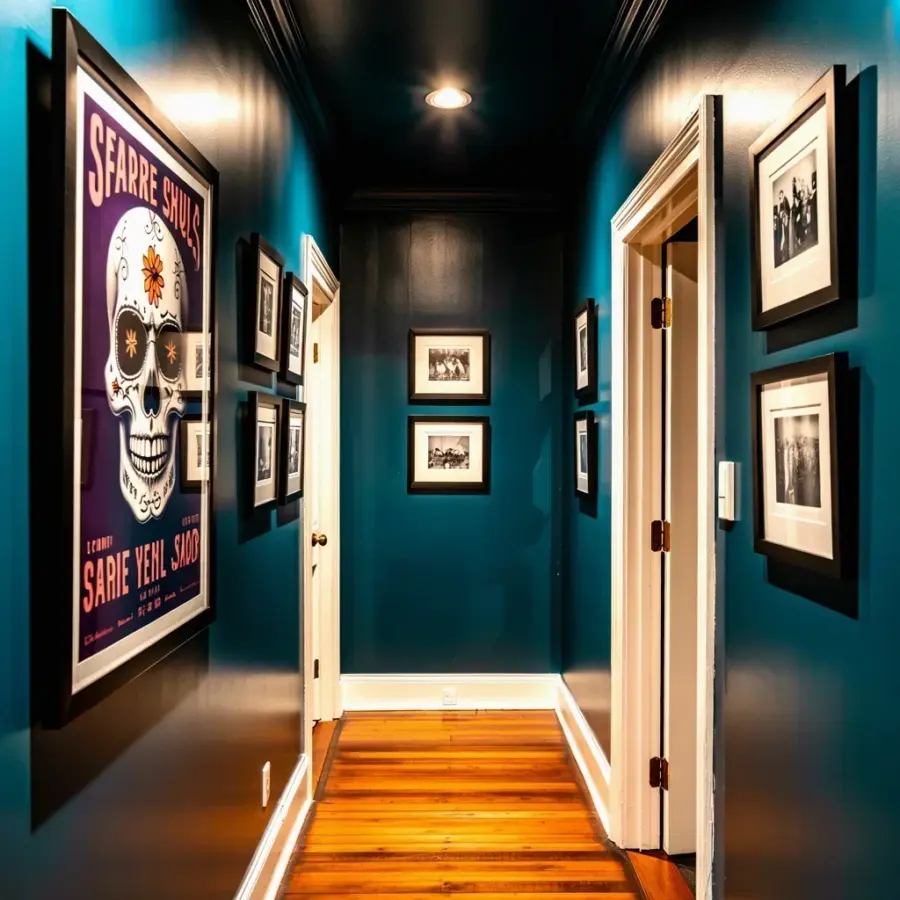
Eleven inches of plaster crown molding, a paneled oak staircase, and the emptiest wall you have ever seen in a Noe Valley Edwardian. That is where the statement wall art conversation starts, not with the art itself, but with the measuring tape. Form Field, the design studio behind this particular renovation, spent a whole afternoon moving a small framed print around, trying to make it work. It never would have, because the print was a quarter of the size the wall demanded. The real mistake in an Edwardian renovation is not picking the wrong art. It is picking art that is too small, then hanging it too high to compensate.
The Real Mistake Isn’t Height, It’s Proportion
Hanging art too high gets all the blame, but the root cause is usually a proportion problem. You buy something you love at 18 by 24 inches, the wall behind your sofa is 7 feet wide, and suddenly the piece looks like a postage stamp. Your instinct is to raise it so it feels more present, but that just makes it float.
In an Edwardian home with 9-foot or 10-foot ceilings, the empty wall has a heavy visual weight. A small piece gets swallowed by the plaster and the woodwork. The solution is not to lower the tiny art, it is to go bigger. Much bigger.
The 60-75% Rule for Wall Art Scale
Here is a practical number that actually works: your art should cover 60 to 75 percent of the wall width. That is not a suggestion from a Pinterest infographic. It is the reason some rooms look finished and others look like they are missing something.
So measure the wall. If it is 80 inches wide from baseboard to trim, your art should be somewhere between 48 and 60 inches wide. For a wall above a console table or dresser, measure the furniture piece instead. The art should be about two-thirds the width of the piece below it, not the full wall.
Measure First, Spend Later
You do not need a laser level or a fancy app to get this right. A regular metal tape measure and some painter’s tape will do the job just fine. Mark the outer edges of the art size you think you need on the wall with tape, then step back.
Thick, taped rectangles look strange, but that awkwardness lets you see the scale before you spend a dime. Walk around the room. Sit on the sofa. Live with that taped shape for a day. Honest, this is the step most people skip because they want to skip straight to buying the art. Then they end up with something too small, and the whole cycle starts again.
Three Budget-Friendly Ways to Fill a Wall
Not everyone can commission a 5-foot canvas, and that is fine. There are cheaper ways to get the scale right without compromising the look.
- Buy a museum poster or an oversized art print from a thrifted frame shop. A 40-inch-wide print on heavy paper costs a fraction of an original painting. Frame it simply or mount it onto a foam board.
- Stretch a large piece of fabric over a wooden frame. Look, a 60-inch canvas that you make from a vintage scarf or a bold textile is a statement piece. The texture softens an Edwardian room in a way normal flat art cannot.
- Find a massive abstract painting at a consignment store, the kind with gold paint slathered on in a way that feels dated, and repaint it with one solid coat from the hardware store. The texture remains, the color becomes yours, and the scale is already there.
Hanging Height: How High Is Too High?
Gallery standard says center the art at 60 inches from the floor. That rule holds for a hallway or an empty wall, but in an Edwardian living room with tall baseboards and a low sofa, it can look wrong. The art ends up hovering above eye level like a float in a parade.
A better approach is to hang the art relative to what is below it. If it is over a sofa, the bottom of the frame should sit 8 to 12 inches above the sofa back. If it is above a console, between 6 and 12 inches is the sweet spot. That keeps it connected to the furniture instead of drifting toward the ceiling.
One weird detail from the Noe Valley project: the baseboards were 11 inches tall, which meant the eye line was slightly higher than in a standard modern build. The designer compensated by hanging the large piece a touch lower than the gallery rule would suggest. And it worked because the scale filled the space so well that the height became irrelevant.
The Noe Valley Edwardian That Got It Right
In the Form Field renovation, the client originally wanted a collection of small botanical prints arranged in a grid. That would have looked charming, but the wall was 76 inches wide and 9 feet tall, right between two windows. A grid of small prints would have been busy and fragile, a little cluster lost in the open plaster.
Form Field instead sourced a single large piece, a vintage map of San Francisco on heavy linen, about 54 inches wide. It covered the central two-thirds of the wall and left graceful breathing room on either side. The map was affordable, something you might find at an estate sale or an online auction, and the custom frame was the biggest expense. That is the budget-conscious approach: spend on the framing, not the art itself.
The result is a quiet, confident wall. No clutter, no collection fighting for attention, just one piece holding the room together. That is what proper wall art scale does for an Edwardian renovation.
Your Turn: The Tape Test for Your Wall Art Layout
Before you buy anything, do the tape test. Cut brown kraft paper to the size you think you want, then tape it on the wall. Not the gallery wrap, the whole rectangle. Live with that paper shape for two full days.
Look at it in the morning light and under the lamps at night. See how it interacts with the furniture and the moldings. If the paper rectangle feels too big, that might be the intimidation talking, because most people undershoot scale by a lot. Push the paper bigger and see what that does. It changes the whole room.
Once the shape feels right, measure it and write the numbers down. Take that paper size with you when you shop, and do not buy anything smaller than that. Edwardian walls reward conviction. Give them the statement wall art they deserve.
Leave a Comment