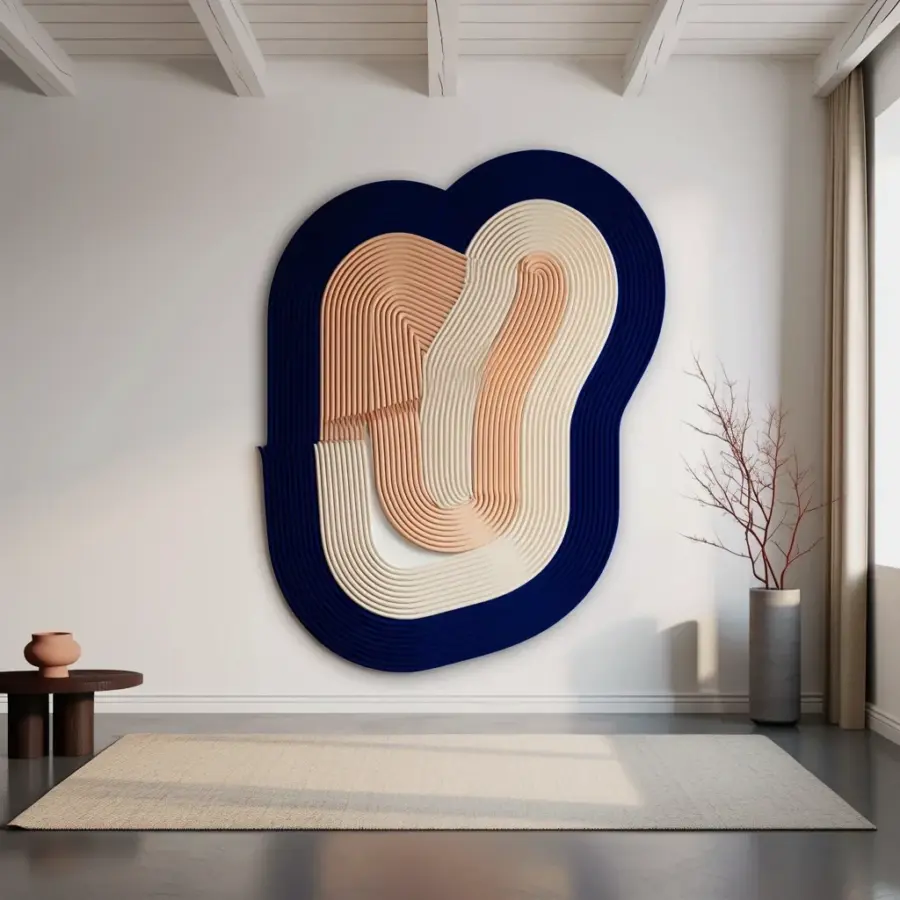
Honestly, blank walls kind of freak me out. You know that feeling when you just moved in or finally painted a room, and now that big empty space stares back at you? I’ve been there. And I used to think creating a gallery wall required some kind of art degree and a laser level. But here’s the secret: photo wall decor is actually the easiest, most forgiving project you can tackle. You don’t need expensive art or a perfectly curated collection. Just grab your favorite photos, a few cheap frames, and maybe one Saturday afternoon. These ten ideas are for total beginners. No prior knowledge required. No perfectionism allowed.
Start With a Relaxed Grid Layout
A grid sounds intimidating, right? Like everything has to line up perfectly or the whole wall looks drunk. But here’s a trick: use a “relaxed grid.” That means you keep the rows and columns roughly aligned, but you don’t measure the gaps to the millimeter. Maybe one frame is a half-inch higher than its neighbor. That’s fine. It looks intentional. It looks human.
Ok so here’s a concrete example. Grab four frames of equal size. Lay them on the floor in a two-by-two square. Then hang them one by one, eyeballing the spacing. I like a gap of about two to three inches between each frame. But honestly? If you’re off by a little, nobody will notice except you. And you’ll get over it. This layout works especially well if your photos share a common theme, like all black and white or all from the same vacation. It feels neat without feeling sterile.
Mix Frame Sizes for Instant Interest
Not gonna lie, I used to think mixing frame sizes was a recipe for chaos. But it’s actually the opposite. A wall full of identical frames can feel a bit like a department store display. Mixing sizes makes it feel collected, like you’ve been gathering these pieces for years (even if you bought them all last week at IKEA).
The trick is to anchor the arrangement with one larger frame. Maybe an 11×14 of a landscape shot. Then cluster smaller 5×7 and 4×6 frames around it. You can overlap the edges slightly or leave small gaps. I like to start with the big one slightly off-center. Then I balance it with a few smaller ones on the opposite side. It’s like a seesaw, but with pictures. And if you mess up? Rearrange. The wall doesn’t get hurt.
Use a Template or Map It on the Floor First
Look, I am a big fan of avoiding extra holes in my wall. So before I even pick up a hammer, I map out the whole layout on the floor. Sounds obvious, but you’d be surprised how many people skip this step. I grab a bedsheet or a big piece of craft paper, lay it down, and arrange my frames on it. Then I trace the outlines of each frame with a pen. Now I have a template.
Here’s the weird personal detail: I once used a roll of leftover wrapping paper for this. It had little penguins on it. My gallery wall was penguin-themed for about ten minutes until I flipped the paper over. Anyway, the point is, you can tape that template to your wall and hang your frames right over the outlines. Then pull the paper off. Zero guesswork. Perfect spacing. It’s almost like cheating, and it is my favorite hack in the world.
Stick to One Color Story for Cohesion
You know that overwhelming feeling when you walk into a frame shop and see a thousand color options? I get it. But here’s a simple rule: pick one color story for your frames and stick to it. It doesn’t matter if it’s all black, all white, all natural wood, or even all metallic gold. The consistency will tie your photo wall decor together even if the photos themselves are wildly different.
I did my own living room wall with frames in matte black and that was that. No silver, no brass, no weird bronze. Just black. And suddenly, a random mix of family snapshots and a vintage print of a lemon looked like they belonged together. It works like magic. If you really want a mix, keep it to two complementary shades, like black and natural wood. No more than two, unless you’re going for a maximalist thing, which is also cool but harder to pull off as a beginner.
Try a Symmetrical Row for a Clean Look
Sometimes you don’t want a whole wall covered in photos. Maybe you have a narrow hallway or a spot above a sofa. A simple symmetrical row of three or five frames can look incredibly polished. And it’s the easiest layout to hang because it’s just a straight line.
- Three frames are classic and balanced. Use the same size or a bigger one in the middle with two smaller ones flanking it.
- Five frames give you room to show a progression, like a sunset sequence or kids’ growth photos.
- Tip: Measure the total width of all your frames plus the gaps (two inches each). Then find the center of your wall and work outward. Use a level, or at least a piece of string with a weight on it. That’s a plumb bob, if you want to get fancy. I just use a keychain.
Add Non-Photo Elements for Texture
Why limit yourself to just photos? I love slipping in a small mirror, a pressed flower in a shadow box, or even a random piece of driftwood. These non-photo elements break up the visual rhythm and add a tactile quality. It makes your gallery wall feel more dimensional and less like a yearbook page.
For example, I hung a tiny round mirror next to a 5×7 of my dog. The mirror reflects light, and now my dog photo looks like it’s in a little spotlight. Classy. You can also use a small embroidered hoop, a ceramic tile, or a postcard. The only rule is that these extras should roughly match the color story of your frames. A bright yellow plastic toy would look weird next to a black frame. But a neutral woven basket? Perfect. So go scavenge your drawers and see what fits.
Hang Without Fear: The Tape Trick
I used to get so anxious about hammering nails into the wall. What if I hit a wire? What if the frame falls off at 3 AM and startles the cat? But then I learned the tape trick. Here it is: cut a small piece of painter’s tape, stick it to the back of the frame where the hanger is, and press firmly. Then pull the tape off and stick that tape exactly where you want the nail to go. The tape holds the spot. Now you know exactly where to drill or hammer. No measuring tape, no crying.
One more thing: use picture hanging strips for lightweight frames. They’re like double-sided tape on steroids. They hold up to about ten pounds. No nails at all. That’s my go-to for rental apartments because you can pull them off without leaving a mark. I’ve moved three times in five years, and my walls are still pristine. The frames? They’ve never fallen. Not even the one of my cat in a bow tie. And that thing is heavy with sentiment.
Conclusion
So there you have it. Ten simple photo wall decor ideas that don’t require a design degree or a weekend-long meltdown. Start small. Pick one layout. Use your favorite photos. And remember, you can always rearrange. The wall isn’t going to judge you. I promise.
Have you tried any of these? Or do you have a weird little personal hack that makes hanging photos easier? I’d honestly love to hear your weirdest tape trick. Drop it in the comments or save this post for your next wall refresh. Your blank walls have met their match.
#photo wall decor #gallery wall ideas #DIY wall decor #home decor inspo #wall art arrangement
Leave a Comment