You’re sitting on your phone at 11pm looking at room makeovers again, and every single one has that one wall. The one with the pattern, the color, the personality that makes the whole space feel finished. That’s an accent wall, and you can absolutely pull it off without hiring anyone or draining your savings account. I’ve done two of them in my own rental (one with paint, one with paper), and neither cost more than a solid dinner out.
Here’s how to create an accent wall on a budget without wrecking your space or your landlord’s security deposit. It’s a weekend project, I promise. Even if your track record with DIY is, well, questionable, this is the one you can actually handle.
How to choose the right wall for your accent wall DIY
Okay so which wall gets the fun treatment? It’s the first thing you need to figure out, and honestly it’s the most important decision you’ll make. Walk into your room and look straight ahead; the wall that faces the door is usually your best candidate because it catches your eye the second you enter.
Another solid option is the wall behind your bed or sofa. It creates a natural focal point, and it means you’ll actually see it every day instead of just when you walk in and out. Skip walls that have tons of windows, doors, or built-in shelves; all that stuff breaks up your design and makes the project way more painful than it needs to be.
And if you’re unsure, grab some washi tape and outline the area you’re thinking about. Leave the tape up for a day and live with it, you’ll know pretty quickly if that wall feels right or just feels weird.
Budget wall decor ideas: pick your weapon (paper vs paint)
Here’s the thing, you have two main routes, and your choice comes down to how much mess you’re willing to deal with. Peeling and sticking wallpaper is the dream for renters and anyone who gets bored fast. It’s genuinely easy to remove later, and you don’t need a single drop of water or paste.
Paint and painter’s tape is the cheaper route, period. A quart of paint goes a long way on one wall, and you probably already own a brush and a drop cloth. The downside is that it takes a few hours of careful taping, plus you have to commit to the color until you feel like repainting.
Here’s a quick rundown of what you’ll actually need for each method:
- For peel-and-stick: a tape measure, level, utility knife, and a smoothing tool (a clean credit card works fine).
- For painting stripes: paint, painter’s tape, a small roller, a brush for edges, and a laser level or just a really steady hand.
- For both: patience, a step stool, and something to watch or listen to while you work.
I’ve done both and honestly, I’m a wallpaper convert. But that’s just because I rent and I’m allergic to commitment.
Peel and stick wallpaper tips for beginners (no bubbles, no tears)
Let’s talk about the wallpaper method first because it looks way harder than it is. The trick is to start at the top of the wall and work your way down, peel off only a few inches of the backing at a time, not the whole sheet. Press it onto the wall with your hand, then take that credit card and smooth it downward in long, slow strokes to push out air bubbles.
If you do get a bubble, don’t panic. Just peel the paper back to that spot, reset it, and smooth it again. A tiny bubble here and there will usually disappear within a day or two once the paper settles, so give it some time before you grab a pin.
One thing nobody tells you is that you should wash your wall first. Grease, dust, even hand oil from touching it will make the adhesive fail later. Wipe the whole surface down with a damp rag and let it dry completely. Do this the night before and you’re setting yourself up for a much smoother Saturday.
Painting stripes with tape: the budget DIY wall decor classic
Paint is the more forgiving option, and painting stripes is about as cheap as accent walls get. Pick two paint colors that already exist in your room’s palette, or go bold and one color can be your existing wall color, the other a contrasting shade. Tape off your stripe pattern first, then paint the lighter color over the entire wall, wait for it to dry, tape your stripes, and fill them in with the darker color.
The most common mistake I see is people pulling the tape off while the paint is still wet. Wait until the paint is completely dry to the touch, then pull the tape off at a sharp angle, slowly. You’ll get those crisp, clean edges that make the whole wall look professionally done.
Another tip that saves your sanity: use a laser level, they’re like twelve bucks and totally worth it. My hand-me-down level from my grandpa left me with one wavy stripe that I’m still mad about, don’t repeat my mistake.
For your stripe width, something around 8 to 12 inches is usually safe. Too thin and you’ll be taping forever, too wide and the wall might feel cramped. Vertical stripes can make a room feel taller, and horizontal stripes make the wall feel wider, so choose based on what your space needs.
How to save money on wall decor supplies
You don’t need to walk into a big box store and buy the most expensive roll of wallpaper they have. Actually, I found my own wallpaper on a Facebook marketplace listing, someone listed the leftover rolls from their nursery project for fifteen bucks, and it was enough to cover my whole office wall.
A few other money saving tricks: buy sample pots of paint instead of full gallon cans, a sample pot covers about four square feet, and for one accent wall you might only need two or three of them. You also don’t need the fancy brand of painter’s tape, the green stuff works fine if you press it down firmly enough.
Here’s another one, check the clearance rack at your local hardware store for mis-tinted paint. People return paint all the time because the color wasn’t quite right, and they discount it heavily even though it’s perfectly good. My living room accent wall is a butter yellow that was somebody else’s mistake, and I paid eight dollars for it.
Styling your accent wall so the room feels cohesive
Once the wall is done, the fun part is making it feel like it belongs. Pull furniture away from the wall just a few inches, it creates this subtle shadow that makes the whole setup look intentional. If you painted stripes in a bold color, keep your furniture and decor in neutral tones so the wall is the star of the show.
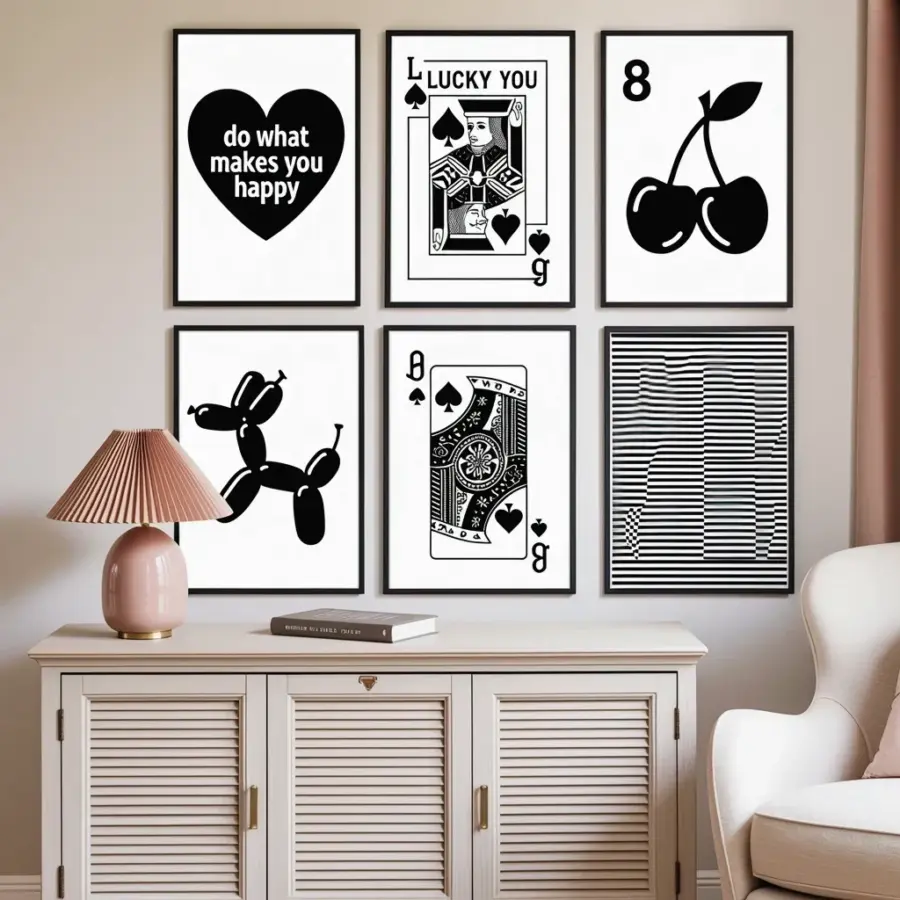
For wallpaper, take your cues from the pattern’s background color. If it’s white with leaves, hang a few pieces of black and white art on the wall to tie it together. And don’t feel like you need to fill every inch, negative space is okay, it’s actually part of the design.
One weird preference of mine: add a single small mirror to an accent wall. It catches light and makes the room feel twice as big without any extra cost or effort. No one will know you spent fifty dollars total on the whole project.
Accent wall mistakes to avoid (learn from my absolute fails)
First mistake, picking a pattern that’s too busy. A big, loud print on an entire wall can make your eyes hurt, and it makes the room feel smaller. Go with a geometric pattern or a subtle texture rather than something that looks like it should be on a 90s bedspread.
Second mistake, skipping the prep work. I already mentioned washing the wall, but also make sure you’re working in a room with good airflow. The adhesive fumes from wallpaper are surprisingly strong, crack a window and maybe take a break halfway through.
Third, not having a backup plan. Keep the leftover paint or the paper scraps until you’re sure you love it. If you do need to fix a torn spot, having that spare material saves you from a panic trip to the store at closing time.
Actually, one more thing, don’t try to do the whole wall without taking a break. Your arms get tired, your eyes get crossed, and your corners get wonky. Stand up, stretch, drink some water, come back to it.
There’s something really satisfying about walking into a room and knowing you did the thing yourself. Whether you choose peel-and-stick or paint, the best part is that you can change it again next year when you get tired of it. So pick which wall you’re starting with, grab your supplies, and give your room a little personality without breaking the bank. Toss a before and after photo on Pinterest; we could all use a little DIY inspiration right now.
Leave a Comment