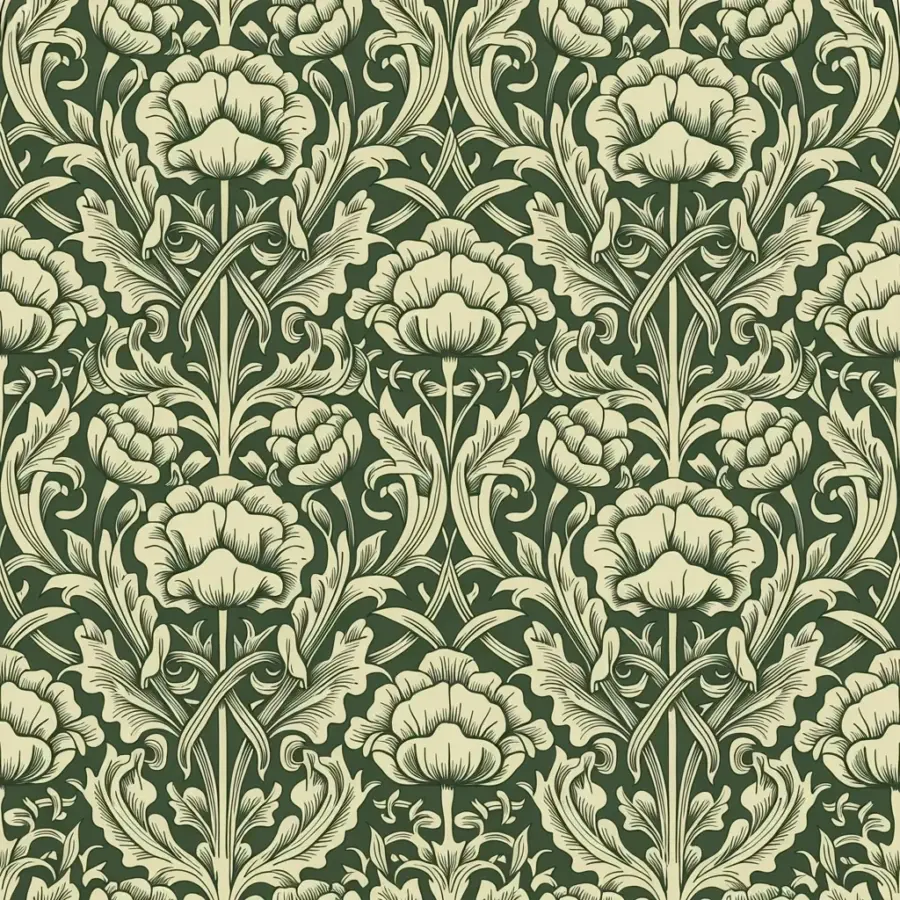
There’s a specific feeling when you spot a roll of wallpaper designs on the clearance rack. Your brain says “ooh pretty” and your wallet says “please no.” But honestly, peel-and-stick wallpaper has changed the game for renters and budget decor lovers alike. I covered an awkward hallway nook for under $30 last spring, and it became the most photographed spot in my apartment. That success didn’t come without a few facepalm moments along the way. So let’s talk about the common mistakes that turn a cheap accent wall project into a weekend of regret, and how to dodge every single one.
Mistake #1: Skipping wall prep makes cheap wallpaper designs look even cheaper
Okay, I get it. You want to peel, stick, and be done. But that dusty wall with the tiny bumpy patches? It will show every single flaw through your fresh wallpaper. I once put peel-and-stick over a chipped spot of paint, and you could see the outline of every chip like some weird topographical map.
Prep takes ten minutes. No, seriously, ten minutes. Wipe the wall with a damp cloth and mild soap. Let it dry completely. Fill any nail holes with spackle and sand gently.
- Use a damp microfiber cloth first, then dry with a clean towel.
- Check for old paint flakes and peel them off.
- If the wall is glossy, scuff it lightly with fine sandpaper.
- Wipe again, because dust is a bubble factory.
This is the difference between a DIY accent wall that looks intentional and one that looks like a secret failure. A clean wall means your budget decor actually reads as decor, not as a bandage.
Measure like a grumpy perfectionist, especially for an awkward nook
Remember that hallway nook I mentioned? It’s not a rectangle. It’s a puzzle with a light switch and a weird jut-out that serves no purpose. Measuring the widest point and calling it done is how you end up with a gap big enough to hide a penny behind.
Measure at the top, middle, and bottom of your accent wall. Do the same for height. Then use the largest number when you order. And order extra. Honestly, eleven percent extra is your friend for pattern matching and human error.
For peel-and-stick wallpaper, the panel widths are usually fixed. So map out where each panel lands. If you have an outlet, measure its exact position from the top corner. Otherwise, you’re playing guess-and-cut, and that’s a game I’ve lost plenty of times.
Pattern repeat: the budget killer nobody warns you about
Here’s the thing about those big gorgeous floral wallpaper designs with huge leaves. They waste a ton of material. A large pattern means each panel has to line up across seams, and you’ll trim away a lot more than you expect. My love of giant botanical prints ate my budget alive.
If you’re on a strict budget decor mission, choose wallpaper with a small, subtle geometric print or a vertical stripe. Those designs match up easily and produce very little waste. Or go for a textured plain that looks like grasscloth but costs like paper.
One person’s ‘small scale’ is another person’s ‘busy mess,’ so order a sample first. That sample will save you from buying four rolls of something that looks totally different on your wall than on your screen.
Lighting changes everything with peel-and-stick wallpaper
That dark navy peel-and-stick wallpaper looked gorgeous in the store’s bright lighting. In my dim little powder room, it turned into a cave. Not the moody, romantic cave I imagined either. Just a cave where you couldn’t find the soap.
Bring a small sample home and tape it to the actual wall you plan to cover. Look at it in the morning, at noon, and at night. Think about whether that wall gets direct sunlight or none at all. Metallic finishes can get blinding in afternoon sun, while matte dark florals can swallow up all the depth in a narrow hallway.
If your accent wall is in a low-light spot, go lighter than you think you want. You can always add a floor lamp later, but you can’t easily unpick a bad vibe.
Bubbles happen when you rush the application, so slow down
Peel-and-stick wallpaper is forgiving, but it’s not magic. If you press the whole panel down in one go, you’re inviting bubbles. You’ll get them. Every time. The trick is to peel the backing off slowly and smooth with a squeegee from the center outward.
Start at the top of the wall and work your way down. When you hit a bubble, don’t panic. Gently lift the panel up to that spot and re-smooth it. I created a bubble that looked like a small mountain range once, and my cat tried to attack it. That’s what you want to avoid.
And please, don’t use a razor blade to pop a bubble while the wallpaper is still wet with adhesive. That just leaves a little scar. Take your time. A weekend accent wall should actually use the whole afternoon. That’s part of the fun, right?
Not all peel-and-stick wallpaper brands are equal
Some cheap brands are so thin that every wall imperfection shows through. Others are so aggressively sticky that they pull off fresh paint when you try to reposition them. I’ve used both. The thin one didn’t survive the night, and the aggressive one left a sticky mess that took an hour with adhesive remover to clear.
Look for brands with reviews from actual people living in older, imperfect rental walls. Affordability matters, but a $10 roll that fails is more expensive than a $15 roll that works. Order samples from two or three affordable peel-and-stick brands before committing. There’s nothing worse than falling in love with a pattern and then discovering it won’t stick to your wall’s particular brand of weird.
And avoid online dupes that come from unknown sellers without a return policy. That’s not a fun gamble.
Removal fears? Have a plan before you stick anything
Peel-and-stick is generally renter friendly, but your wall texture matters a lot. If you have those rough popcorn walls, wallpaper may not stick well in the first place. If you have a smooth but porous wall, removal might tug on paint that was already struggling to hang on.
Before you cover a large area, peel up a tiny corner of your test sample and see what happens. Does it come off cleanly? Or does it leave a sticky residue? A hairdryer on low heat will soften the adhesive and make removal much less painful. Another trick is to pull the wallpaper off at a sharp angle, not straight outward.
Keep a plastic scraper and some warm soapy water nearby when removal day comes. That works for most residue. But if you’re nervous, stick to a small accent wall rather than a whole room. That way, even a worst-case removal scenario is only a two-square-foot headache. Honestly, that’s how I got started, and now I’m hooked on changing my little nook every few months.
So there you have all the mistakes I made so you don’t have to relive them. A cheap, cheerful accent wall is completely doable. It just takes a little patience, a sample order, and a willingness to measure twice before you peel the backing.
Next weekend, go find your own awkward nook and make it ridiculously cool for under thirty bucks. Save this for your next DIY wallpaper project, and when you finish, send me a photo. I want to see the spot that makes your rental feel like yours.
Leave a Comment